Snowman Snowflakes
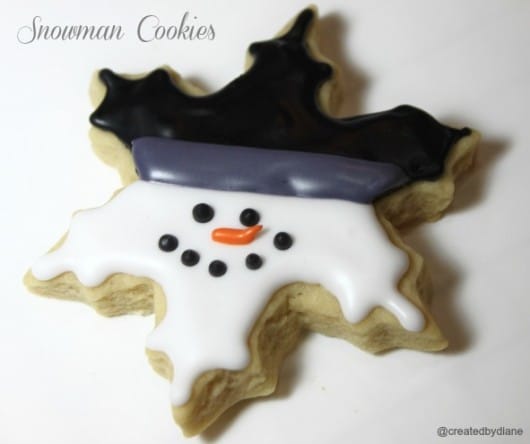
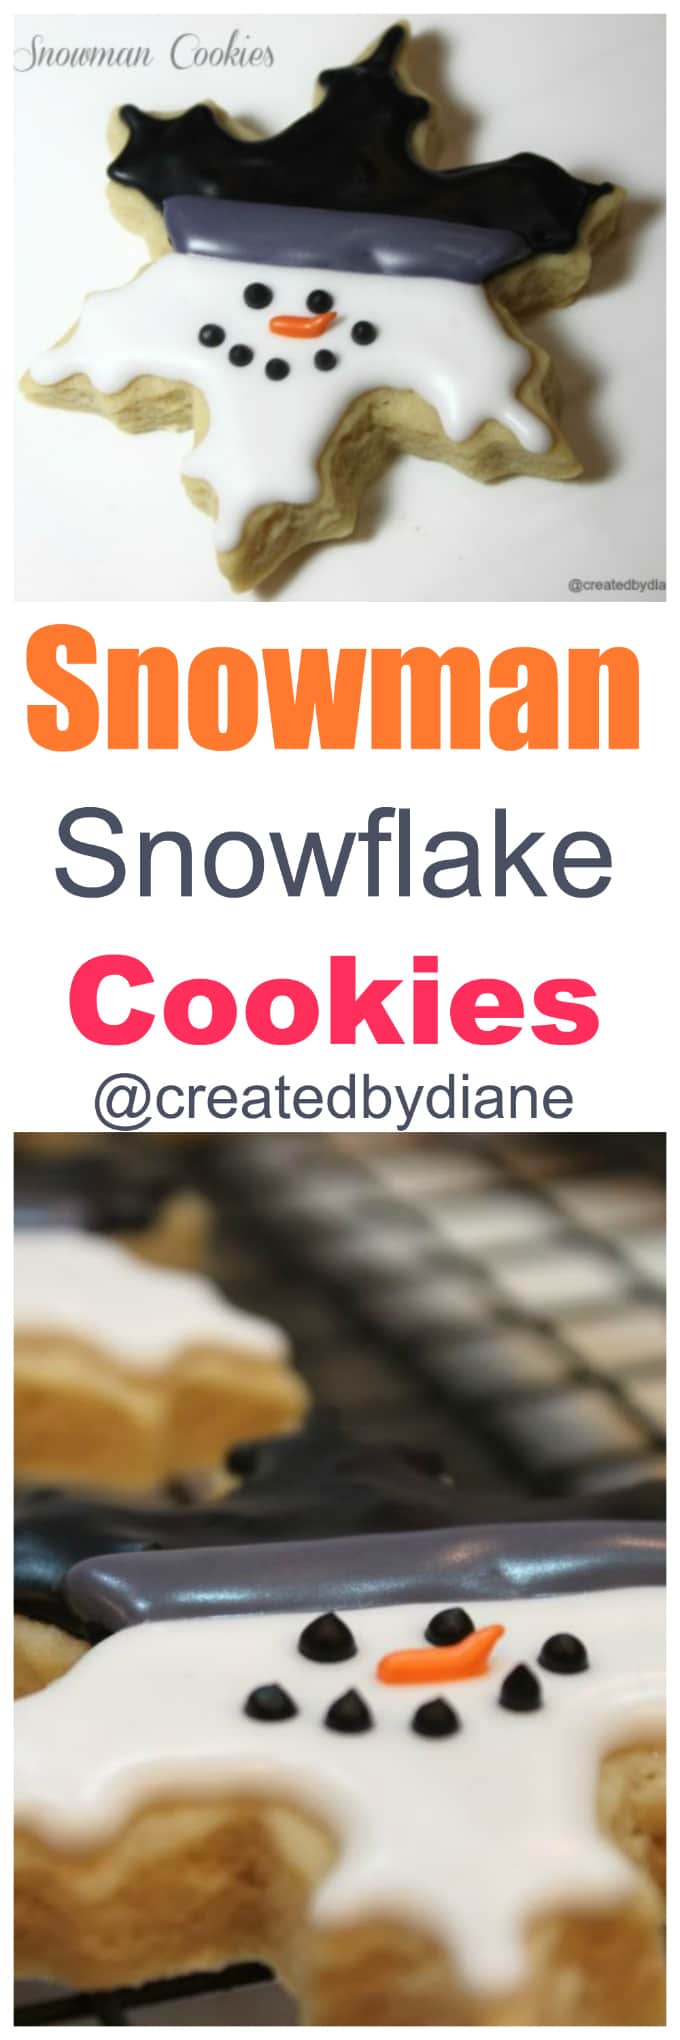
Wouldn’t it be fun if all snowflakes looked like snowmen when falling! These snowman snowflake cookies are sure to be the hit of your cookie platter.

ALL Winter long these cookies will bring a smile to everyone’s face, even if it’s not really snowing.
The snowflake cutter makes these cute snowman faces extra cute don’t you think!
This cookie recipe is for my Italian Cut Out Cookies, they are so delicious like you would find in an Italian bakery, not overly sweet, but just the right thickness to really sink your teeth into them.
The icing is a simple glaze icing, it dries with a pretty sheen and doesn’t get rock hard like royal icing, but I’ve linked that icing here if you prefer it.
I wrapped the snowmen up in bags and cut snowflake type paper to trim them off with. I’m sure they will be gone as quick as a snowflake melts on a sunny day. Once they are delivered.
I love snowflake cookies, and these were really fun to do.
Tips for making these cookies:
Be sure to allow the butter to cool after you melt it, and to let the cookie dough rest after its’ all mixed, these two tips will ensure you great cookies.
For this recipe, add flour as needed, there is a lot of butter and eggs in this recipe and you can add up to a cup of flour (more than the initial amount) to easily roll out the cookies.
I roll my cookies to 1/4″ thick, sometimes 3/8″ thick, I do find they puff up more if they are thicker, but they still hold their shape, they just aren’t as flat on top.
Snowman Snowflakes (Italian Cookie Recipe)
Ingredients
- 5 eggs
- 1 1/2 cups salted butter melted and cooled 10 minutes
- 5-6 cups flour
- 1 ¾ sugar
- 2 tsp baking powder
- 3 tsp vanilla
glaze icing
- 2 cups powdered sugar
- 4 Tablespoons water
- 1 Tablespoon corn syrup
Instructions
- In a large bowl stir together flour, sugar, and baking powder, make a well in the center of the dry ingredients and add the egg mixture then vanilla. Mix, until shiny. About 2 minutes. Cover bowl with waxed paper and let the dough stand at room temperature for 20 minutes. When rolling out this dough, don’t be afraid to add flour. It will not make the dough tough.
- Heat oven to 350 degrees roll out dough to 3/8" thick with flour and cut with a cookie cutter.
- Bake 12 minutes
- Makes at least 5 dozen (3 inch) cookies.
- Let cookies completely cool before icing.
- In a small bowl mix together until smooth add more milk/water if too thick or confectioners’ sugar if too thin.
- Add food coloring and mix well. I prefer Americolor food coloring.
- When you pull up some icing on a spatula and drizzle it back into the bowl, the design should disappear in 10 seconds for the correct consistency.
- Outline the cookie with a #2 tip and use a #3 tip to fill in the design.
- Let icing set on decorated cookies before storing, this takes about 12 hours.
- The cookies won’t go stale, the icing is covering the tops preserving the freshness.


Super cute, Diane! Love the baggies too.
Those are adorable little snowflakes!
You have me thinking about Christmas cookies and it’s only December 1st! Love these cookie cuties!
these are so very cute, I love them!
I’m just wondering about the 5-6 cups flour – do you just start with 5 cups and add more as needed? How much did you use?
yes I start with 5 and then add flour as needed, often I wind up using 6 six cups, sometimes I have used a little less, on colder days the dough may be colder and on hotter days (like it is where I live) it seems I need some more. If you have any doubts on the consistency, bake 2 cookies and see how they turn out.
Hi love the cookies. I just wanted to know what did you use for the nose?
I used the icing recipe in the post. I colored it orange and put a small circle tip on and make a dash with the icing. The icing was thick enough to stick up at the end, creating a fun carrot look.
Can I freeze the cookie dough
Yes, you can freeze the cookie dough.